
Setting Up Lead Forms in the Header & Main Banner
Configure lead capture forms for your blog's header and main banner, including success messages and auto-reply emails.
To configure lead capture forms in your blog's header or banner: Go to Forms → Blog header & banner → Edit from the left sidebar.
1. Configure the Form
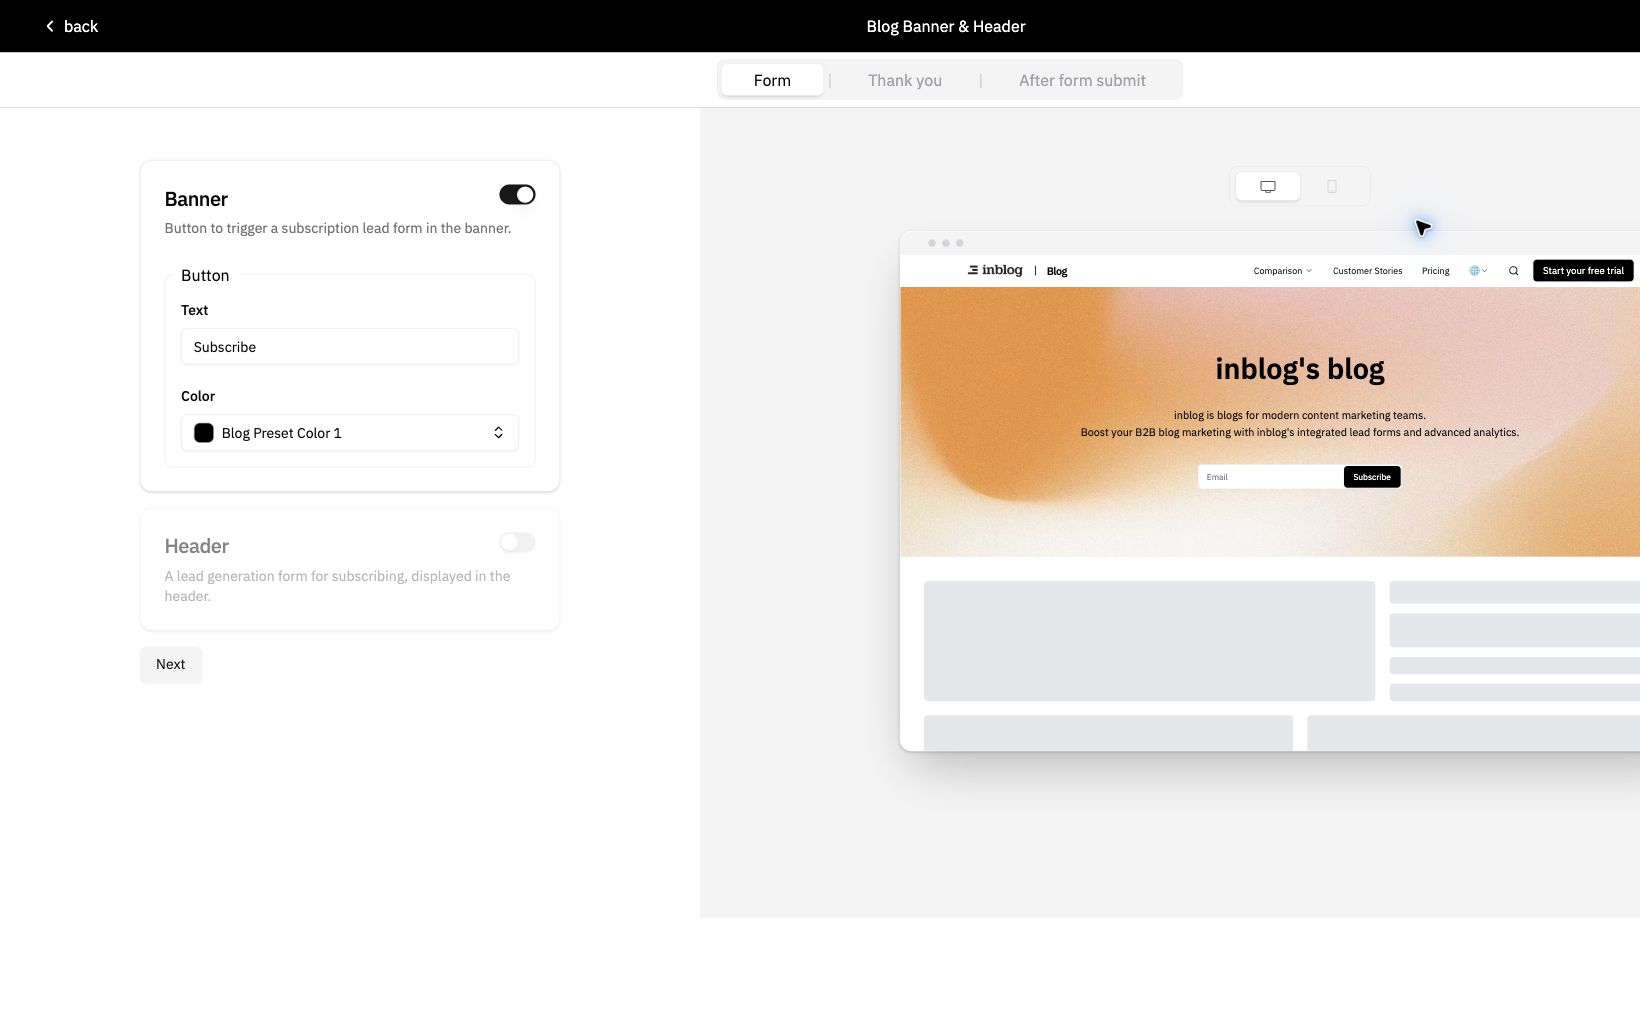
Main Banner Form
- Displayed on the main page of your blog.
- You can customize the button text and button color.
Header Form
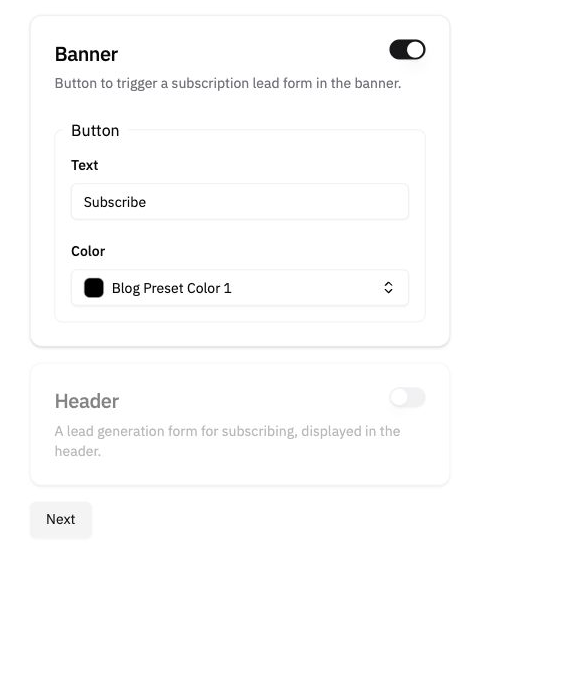
- Displayed when a user clicks the call-to-action in the blog header.
- Body: Text shown when the form is triggered
- Fields: Define the input fields you want to collect from visitors (e.g., email, phone number, name)
Note: Every form must keep at least one lead contact field: email or phone. To create a phone-only form, add Phone from Add new field first, then click the trash icon on the email row. The trash icon is hidden while email is the only lead contact field. If you keep both email and phone, use each field's Required setting to require both, require one, or let visitors provide either one. Other fields, such as name, can be added or removed freely.
- Privacy Policy URL: Set a link to your data privacy policy
2. Success Message After Submission
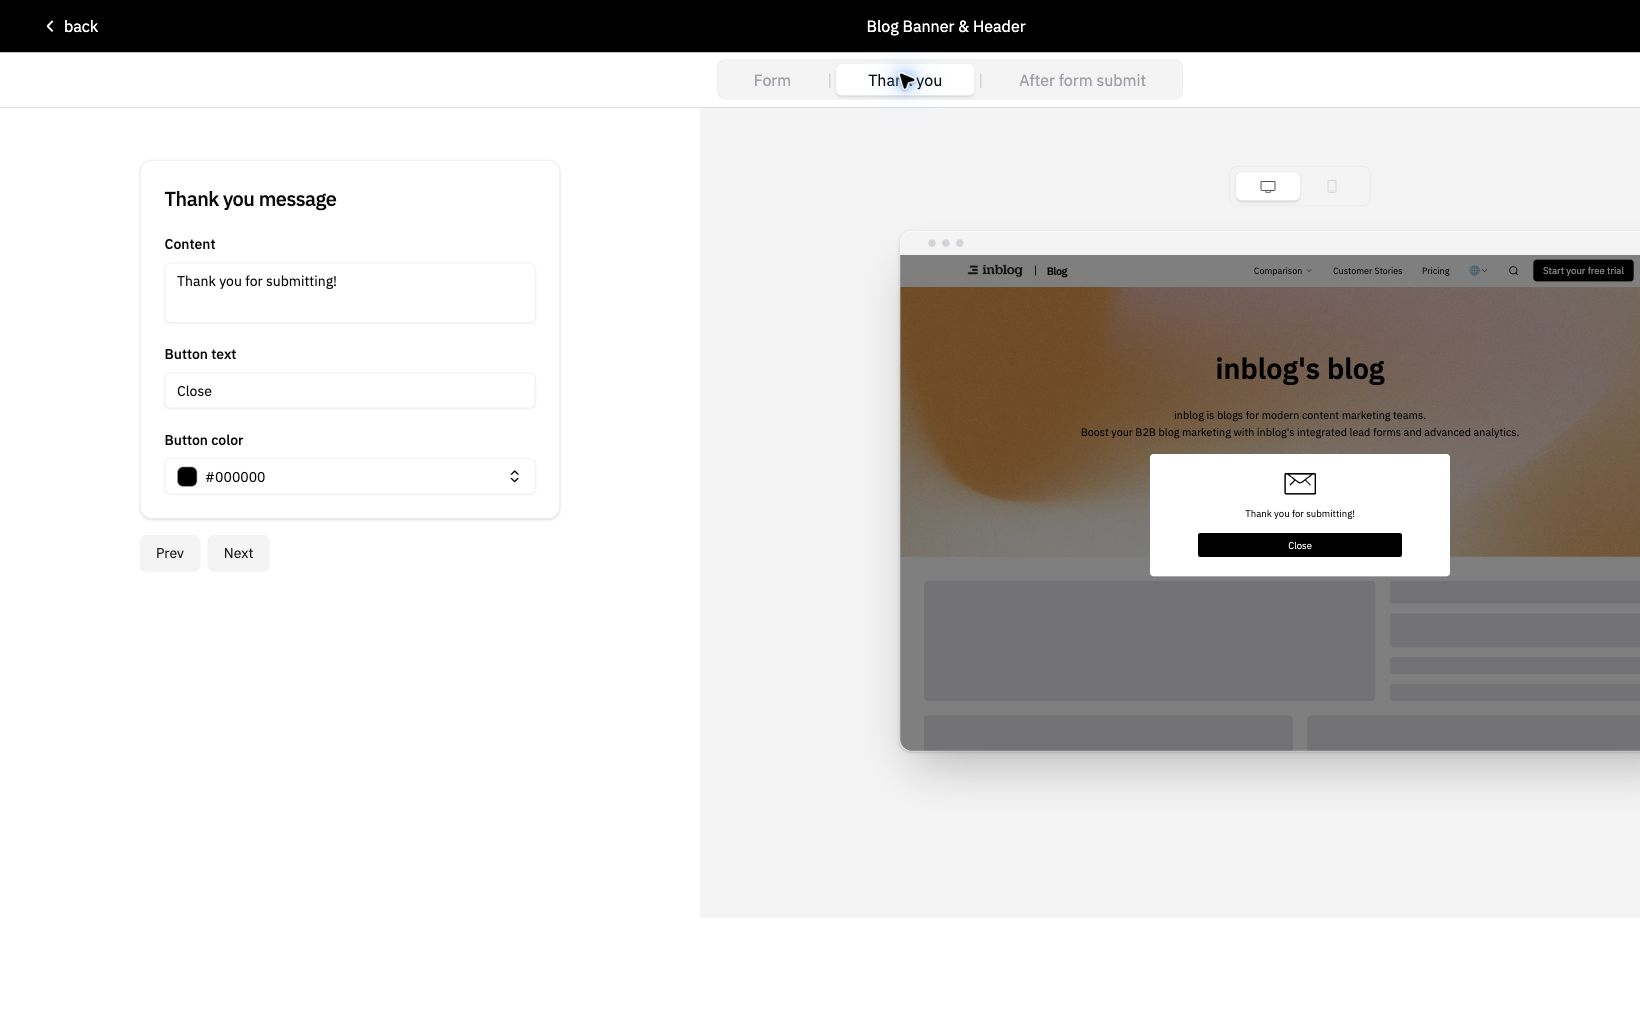
Customize the message presented to visitors after form submission, providing confirmation and setting proper expectations for what happens next.
3. Auto-Reply Email to Respondents
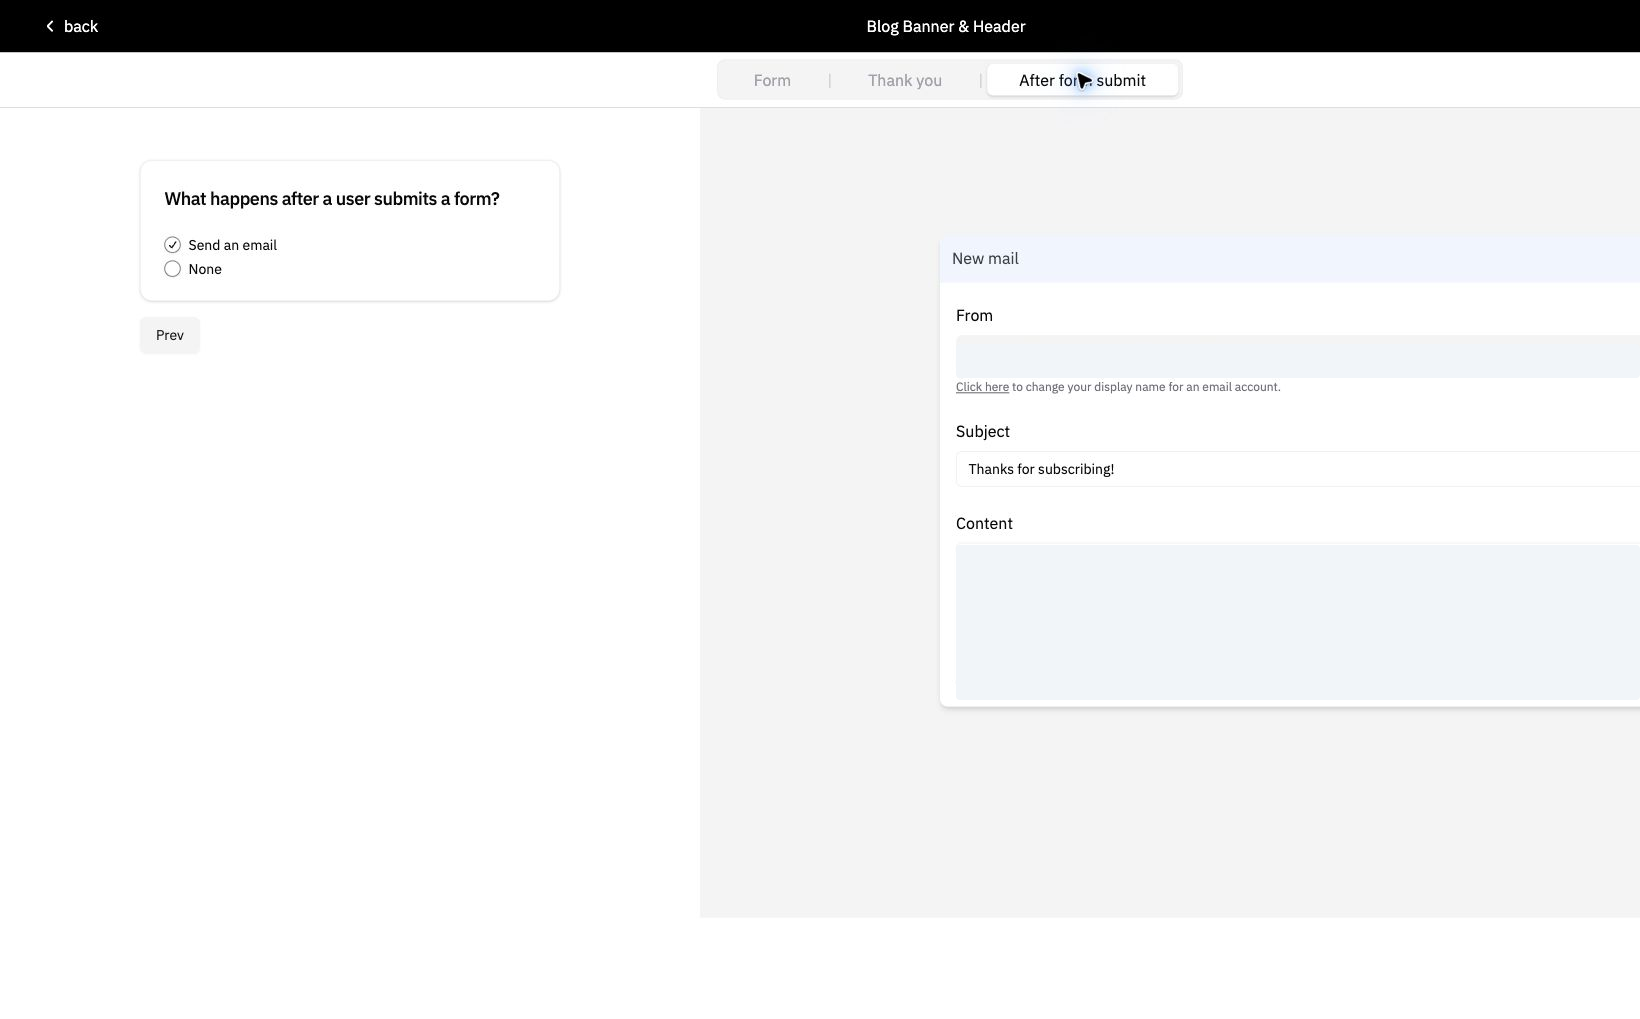
Send a follow-up email when a respondent provides an email address. Phone-only submissions do not receive this email because they do not include a respondent email address.
- Toggle email notifications on/off from the left panel
- Set the sender name, email subject, and email body
- Use this feature to thank users, confirm receipt, or share follow-up resources
Last updated 2026-08-05